Transform Your Photos with a Dynamic Smoke Effect
Hey there, Photoshop enthusiasts! Grab a cup of coffee and get ready to dive into some creative editing. Today, we're going to give an image a bit more pizzazz using some fun and effective Photoshop techniques. Let's jump right in!
Download your copy of this image to follow along or use this technique on your own photo!
Duplicate the Background Layer
First things first, open up your Photoshop app and duplicate your background layer twice. We’re going to work on these duplicates to create a dynamic smoke effect. On the second duplicate, head over to the Edit tab, select Transform, and then Flip Horizontal. This gives us a mirrored image, perfect for manipulating the smoke effect creatively. We don’t need this mirrored layer right away, so go ahead and turn off its visibility for now.
Select the Subject
Now, focus on the original duplicate layer. Go to Select and choose Select Subject. Photoshop will do its magic to identify the main subject of your photo. However, smoke effects can confuse the software, so use the selection tool to refine your selection and get it just right. Once satisfied, erase the selected area from both duplicate layers to create a cool layered effect with two models.
Erase the Secondary Image
Next, right-click and select Invert to switch our focus. We want to remove the second model, so grab the eraser tool, lower its opacity, and start erasing the secondary image. Blend the smoke seamlessly as you go. This method gives a more natural look compared to using the clone or copy and paste tools.
Blend and Refine the Smoke Effect
With both smoke effects merged into the image, use the patch tool set to normal to blend in some of the pink smoke where the secondary model’s arm was. Follow up with the clone and heal brushes to further refine the effect and hide any leftover bits of the second model. Patience is key here—it might take a few tries to get it just right.
Adjust with Camera Raw Filter
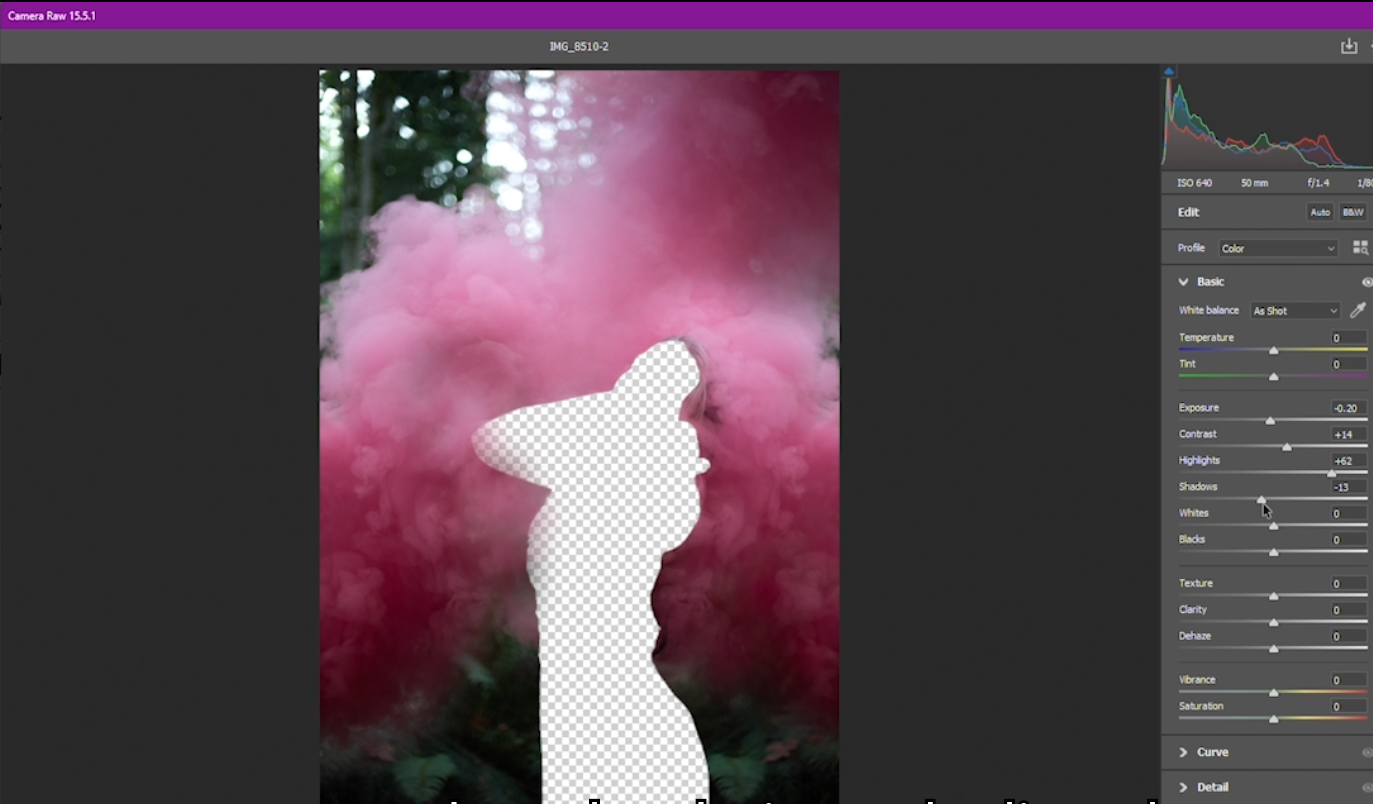
Once you’re happy with your smoke effects, merge the two layers to edit them together. Go to Filter and select Camera Raw Filter. This tool is a lot like Lightroom and lets you make comprehensive adjustments. Instead of just tweaking exposure or contrast, play around with the highlights, shadows, whites, and blacks to create dynamic contrast. To make the background less in focus, reduce the clarity and adjust the vibrancy to your liking.
Color and Luminance Adjustments
Use the color mixer to shift background colors to cooler tones, giving your image a fantasy vibe. Adjust the luminance to darken the background, making your model
pop even more as the focal point.
Fine-Tuning Shadows and Lights
Head over to the Layers menu for finer control over shadows and lights. This approach can be more precise than using curves or exposure adjustments. Make small tweaks to both the main layer and the background layer to ensure everything looks cohesive. If you notice any edit lines from using the select tool earlier, hide them using the Levels tool on the background layer to match the shades seamlessly.
Clean Up Remaining Lines
Zoom in and check for any leftover selection lines. Duplicate the background layer again, take the eraser tool with low opacity, and gently erase around these lines to soften the transition between edited and original parts of the image.
Enhance the Model
To make the model stand out more, use the burn and dodge tools—techniques borrowed from darkroom photography. The burn tool will darken areas, while the dodge tool will lighten them. Use the dodge tool on the whites of the eyes and the irises to create a more dynamic look. Clean up minor blemishes with the clone tool, keeping the changes subtle.
Brighten the Face
If the model’s face still looks a bit dark, use the Select and Mask tool. Lower the hardness for a soft edge and highlight the face area. Adjust the levels to brighten the face slightly, making it pop.
Final Touches in Lightroom
Once you’re happy with your Photoshop edits, save the image and open it in Lightroom. Apply your favorite preset, remove chromatic aberrations, adjust the lens profile, and fine-tune the temperature to enhance the cool tones.
And voila! Your edited image is ready to shine. If you enjoyed this tutorial, please like, subscribe, and drop a comment below with suggestions for future tutorials. Happy editing!


